How to start a fire in a fire pit
How to start a fire in a fire pit
For some people lighting a fire is a daunting task; this once essential skill has become more or less redundant for many people in today’s centrally heated home.
Often the success and enjoyment of a properly lit fire can be determined by the fuel and method you use. You may be able to light your fire pit, but if you spend your evening surrounded by a cloud of smoke, is it an enjoyable experience? To get it right, there are a number of things to consider before you start. Read on to learn what you need, what you need to take into account and the best method to light your fire pit.
What you will need
Before you start, you need to gather together the following:
- Firepit
- Small split kiln dried or dry seasoned logs, (below 20% moisture content)
- Kindling sticks
- Natural firelighters - stay clear of the traditional paraffin blocks
- Matches
- Gloves - heat resistant
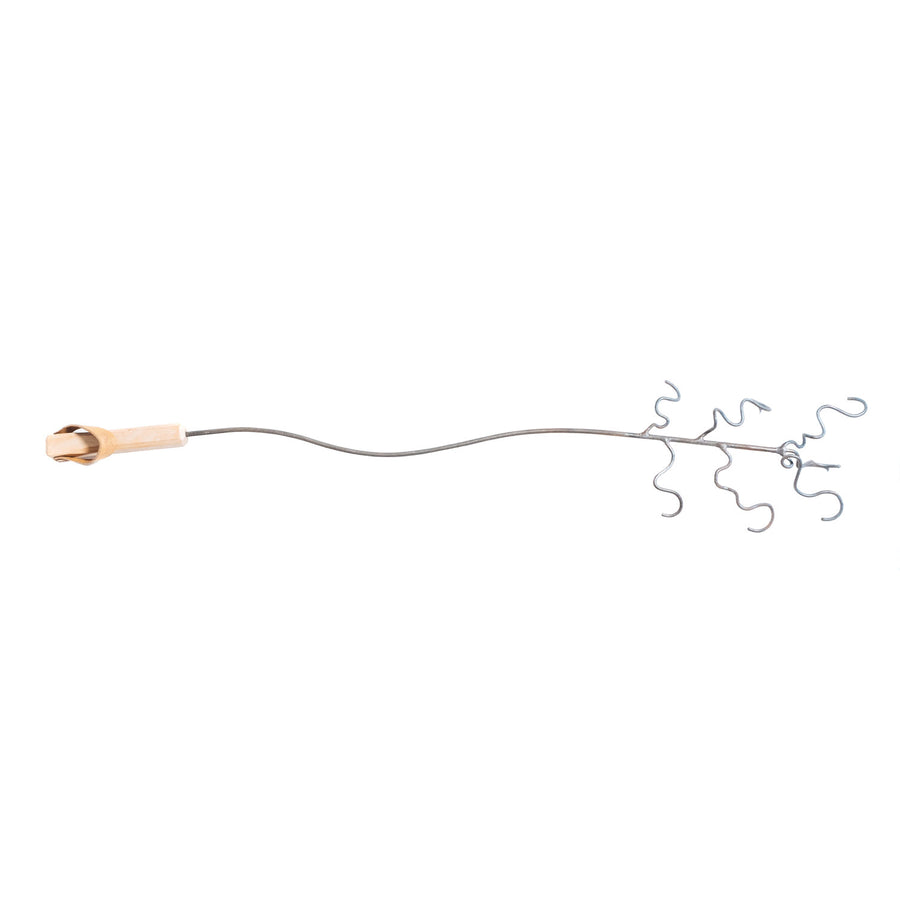
- Optional - a poker
Preparing your fire pit
It is always better to start a fire in a dry, clean environment. If you start a fire on top of damp ashes your fire will smoke. Therefore clean out your fire pit of ash so that your new fire sits directly on the clean base. If your fire pit does not have a drainage hole in the base, ensure it is emptied of any water.
Weather conditions
You can light a fire in any weather conditions but it is dangerous in high winds because the embers could carry on the wind and ignite structures, fixings and even buildings. Although not ideal, if you need to light your fire pit in the rain, you can do so by holding an umbrella over it until the fire has taken hold.
Your fire will behave differently depending on the weather; how much wind there is and how much moisture there is in the air. On a damp still day your fire will not burn as well as on a warmer breezy day for instance.
Which fuel?
We recommend buying locally sourced, Ready to Burn approved fuel for your fire pit. Ready to Burn provides reassurance that the fuel you are burning has a moisture content of below 20%. If you use fuel with a higher moisture content, you’re likely to have a smokey fire that is hard to light and provides less heat output.
If you have a good supply of your own wood you can season it yourself. Read here our blog on how to season your own firewood.
At the Woodee we use kiln dried logs which have a moisture content of under 20%. We buy ours from our friends down the road at Certainly Wood. If we are cooking on the fire pit we also use charcoal from our friends at Birchwood Forestry.
‘Top Down’ Fire Lighting Method
The top-down fire lighting method, sometimes called the ‘upside-down’ method is our favourite.
- Place 6-9 small split logs in your fire pit, stacked 3 across like a Jenga tower, putting any larger logs on the bottom. Put them close together so there are no large gaps but allowing air to flow.
- Add 4 kindling sticks on top of this, following the same pattern as the logs.
- Place a natural firelighter on top of this ensuring it is in contact with the kindling.
- Light the firelighter and leave for a few minutes, until it is burning well.
- Add 2-3 more logs to your fire, either on the top retaining the structure or leaning them against the side of the tower and leave again - when adding more logs ensure plenty of air gaps to ensure good airflow.
- Continue to add more logs until the fire has a good base of heat.
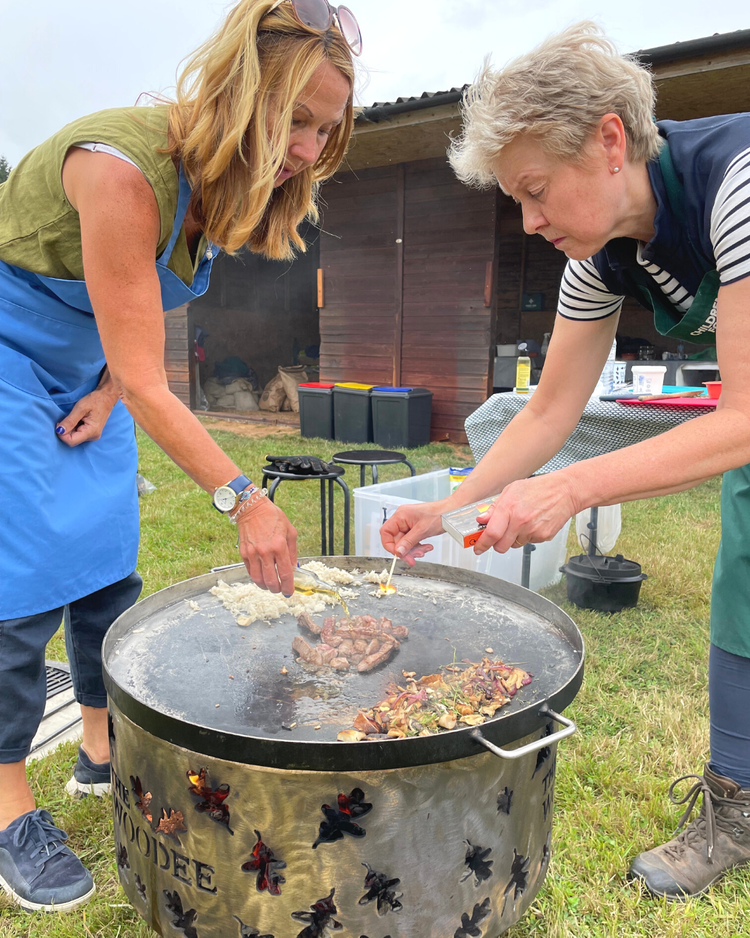
- If you’re planning on cooking wait until the logs are all burning, usually around 40 minutes. Remember you want to cook on heat not flames.
Why the Top-Down Method Works So Well
This method of fire lighting may feel a little counter-intuitive at first — placing the smallest kindling and firelighters on top, rather than underneath the larger logs. But once you try it, you’ll see why it’s such an effective and efficient way to light a fire, whether it’s in your Woodee fire pit or an indoor wood burner.
Here’s why it works:
-
Clean combustion from the top down
By lighting at the top, the flame burns downwards through the layers of wood. This means the smoke and gases released by the lower logs pass up through an existing flame, where they’re burned off rather than escaping as smoke. The result? A cleaner, more efficient burn with less wasted fuel. -
Steady heat build-up
With traditional “bottom-up” fires, you often get a big rush of flames early on, but then the fire collapses as logs above smother it. The top-down method allows the fire to establish gradually, burning from small to medium to large logs in a natural sequence. This gives you a steady rise in heat, and a long-lasting firebed that’s perfect for cooking. -
Longer burn time without tending
Because the largest logs are at the bottom, they don’t start burning until later, once the heat has built up. This means your fire keeps going for much longer before you need to add more wood. It’s an ideal “hands-off” method — you can light it, step back, and let it do the work. -
Better airflow
The gaps between stacked logs in a top-down fire allow air to circulate freely. Instead of smothering the flames, the fire draws in oxygen from below and feeds itself naturally. This reduces the need for constant poking, blowing, or fanning. -
Quicker to reach embers
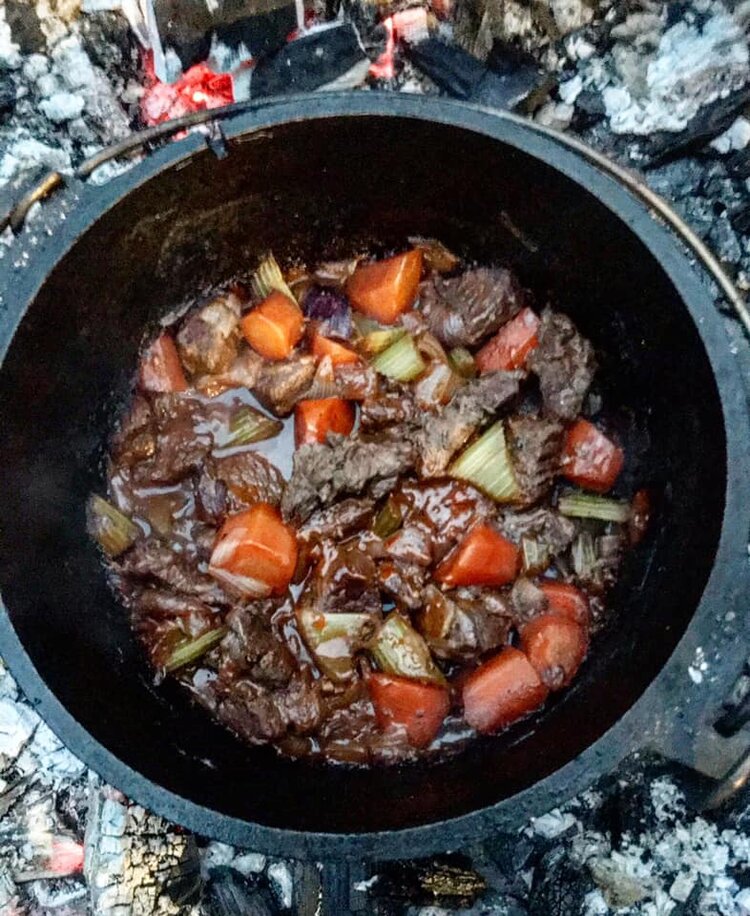
A fire lit from the top burns down into itself and creates a solid, glowing bed of embers faster. This is especially useful when cooking outdoors: after about 40 minutes, you’ll have the perfect base of steady heat for the Woodee Grill, Cooking Tray or Dutch oven.
In short, the top-down method gives you:
- Less smoke
- More efficiency
- Longer-lasting heat
- A better ember base for cooking
It’s a simple technique that makes a huge difference once you get into the habit of using it.
Traditional Method - 'Bottom up':
If you want to try a different way, the traditional ‘bottom up’ method is the one I was taught in Guides and Scouts and the one if you are out in the wild using whatever you could find, you would use: Place your firelighter in the middle of your fire pit. Place your pieces of kindling into a triangular shape, similar to a tipi, over the firelighter, allowing for air gaps. Then place two of your smaller logs on either side of your kindling, this allows you to place larger logs over your kindling once lit. Light your firelighter, let your kindling take and then slowly start adding logs to your fire.
Always remember to ensure there is good airflow when lighting a fire.
What do you burn in a fire pit?
We recommend buying locally sourced, Ready to Burn approved fuel for your fire pit. Ready to Burn provides reassurance that the fuel you are burning has a moisture content of below 20%. If you use fuel with a higher moisture content, you’re likely to have a smokey fire that is hard to light and provides less heat output. You can also burn charcoal if you are going to use the fire pit for cooking.
What we burn in a fire pit:
- Kiln dried logs or well-seasoned to under 20% moisture content
- Charcoal
Best Wood for fire pit
We recommend using Certainly Wood’s kiln dried logs as the best wood for a fire pit. Kiln dried logs have a moisture content of under 20%, meaning they are ready for immediate burning and can be used for cooking and enjoying the warmth of a fire pit.
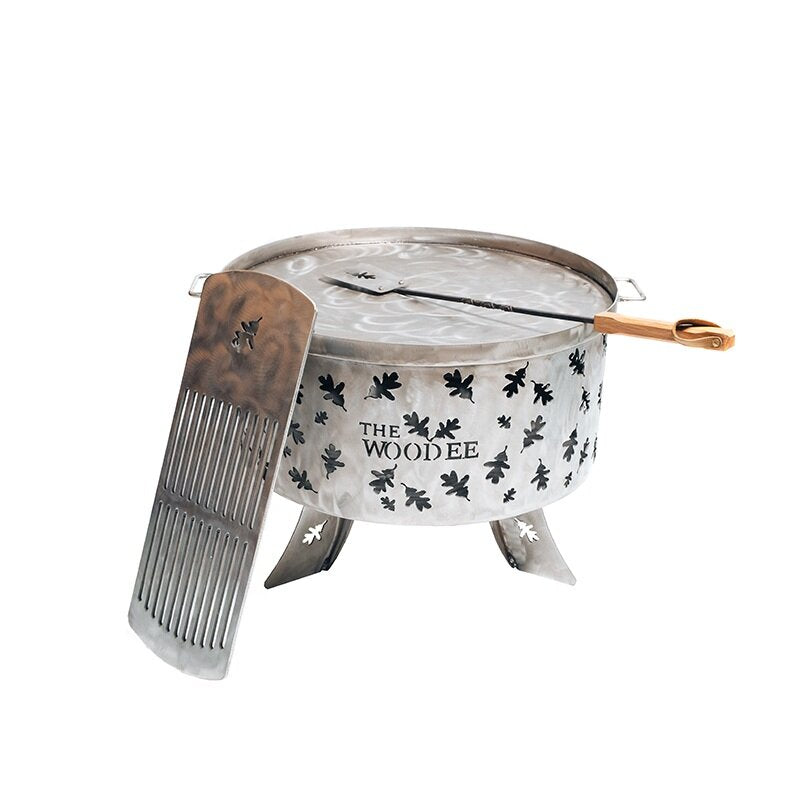
Best Fire Pit
Of course, every great fire needs the right fire pit. At Woodee, we make three sizes here in the UK to suit every space and style of outdoor living:
- 600mm Woodee – Our standard and most popular fire pit, perfect for families and friends to gather around.
- 400mm Woodee – Compact and portable, fantastic for smaller gardens, patios, or even to take camping.
- 900mm Woodee – A real showstopper, ideal for larger spaces and bigger gatherings.
Add a matching lid to any size and your fire pit transforms into a stunning garden table, making it a year-round feature rather than something you only use in the evenings.
All our fire pits come in a choice of two metals:
- Mild carbon steel – classic, traditional, and naturally ages over time.
- Stainless steel – sleek, modern, and extra durable as it won’t rust.


Leave a comment